
Mini Painted Rocks
- Jun 10, 2025
- 3 min read
Painting rocks is a fun and easy craft that is perfect for all ages.
There are a lot of ways that you can decorate rocks. This project's method is easy and simple. For supplies you only need two things, mini rocks and acrylic markers!
First the rocks!

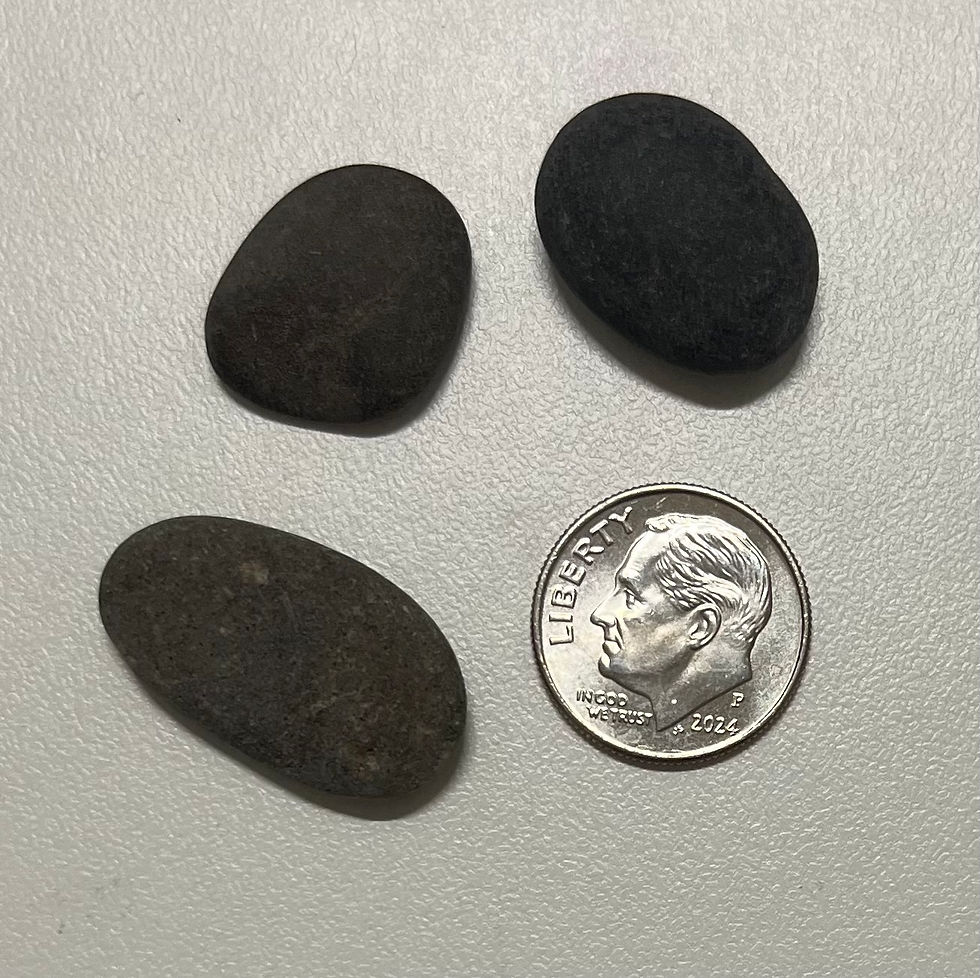
These look big but they're actually mini, only the size of a dime. I found them on Amazon. The rocks may be dusty so wipe them so they are a clean surface to start painting.
Then you'll need a whole mess of markers. There are a lot of choices you'll find, a lot of brands, but if you pick some that have good reviews, a lot of color options, and a decent price (not the cheapest!) you'll find some good ones.

Having a lot of colors really helps. Because you're using markers you can't mix the paint to make your own colors in the same way. Plus, it's easier for little hands to draw with these and less cleanup with no brushes needed!
I would also recommend getting some that have dual tips, as shown below.

This way, you have a pen type tip and more of a paint brush side, so you can used different techniques.

Once you have your supplies, the fun begins! There are endless possibilities when it comes to painting rocks. You can think about the purpose, how you're going to use the finished rocks.
A few fun ideas:
Sprinkle them in your garden to keep your plants company
Go for a walk and drop them for others to find (kindness rocks)
Give them as gifts to friends and family
Decorate your home
Make your own tic-tac-toe board
There are many uses and designs that can be on mini painted rocks.
When you are layering paints, let each layer dry completely before you add onto it!
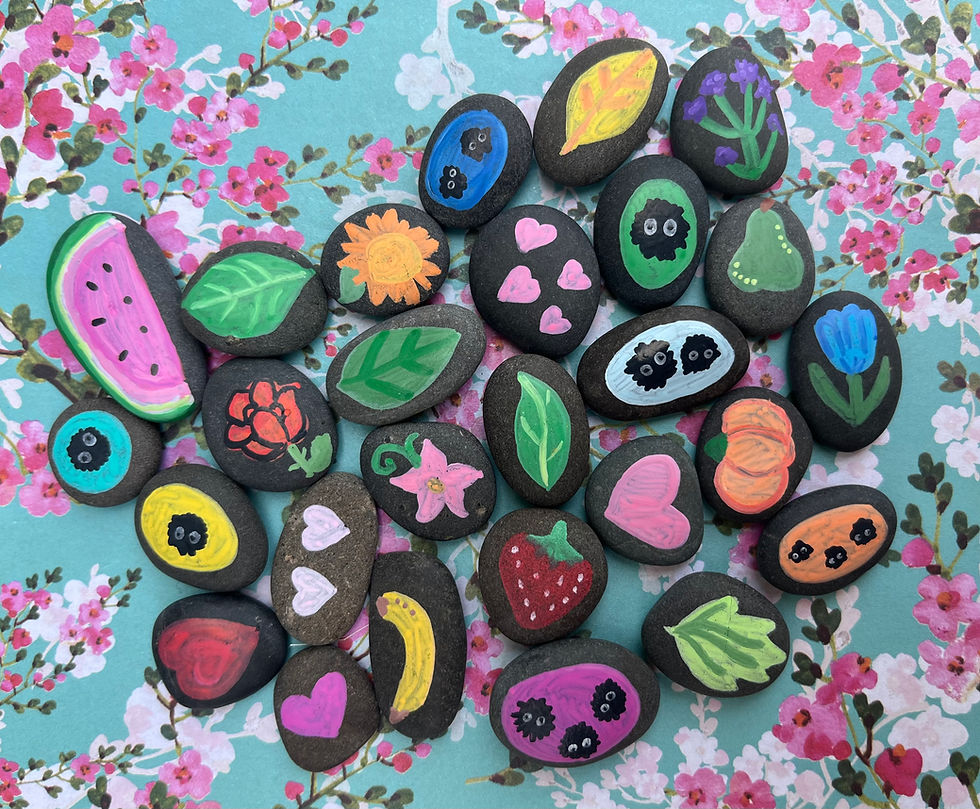
If you're looking for some ideas, why not Soot Sprites?! I put a background color on first because the black does not show up vividly on the color of rocks I have. Once your background color has dried you make a black circle with some fuzzy edges, however many will fit in any size! Add two little white dots, once dry add even smaller black dots inside the white for the eyes. I used the brush tip very carefully for the black dot to make it super small.

What about some produce?! I made a strawberry, watermelon slice, pumpkin, pear, and banana! Food is always fun, both for eating and painting.

If you love nature, what about leaves or flowers?! They can be real or fake, any shape and size. If you get a pack of markers with many colors, you can use different greens to accent your leaves and even make fall leaves. Flowers are a beautiful choice, although they won't smell as good as the real thing!


Hearts! I made some hearts. Hearts are a classic, and they don't have to be pink or red, they can be any color! Show someone you love them by giving them a mini heart!

Crawly bugs! I don't love bugs, but they're fun to make. They can be cute or creepy, real or not.

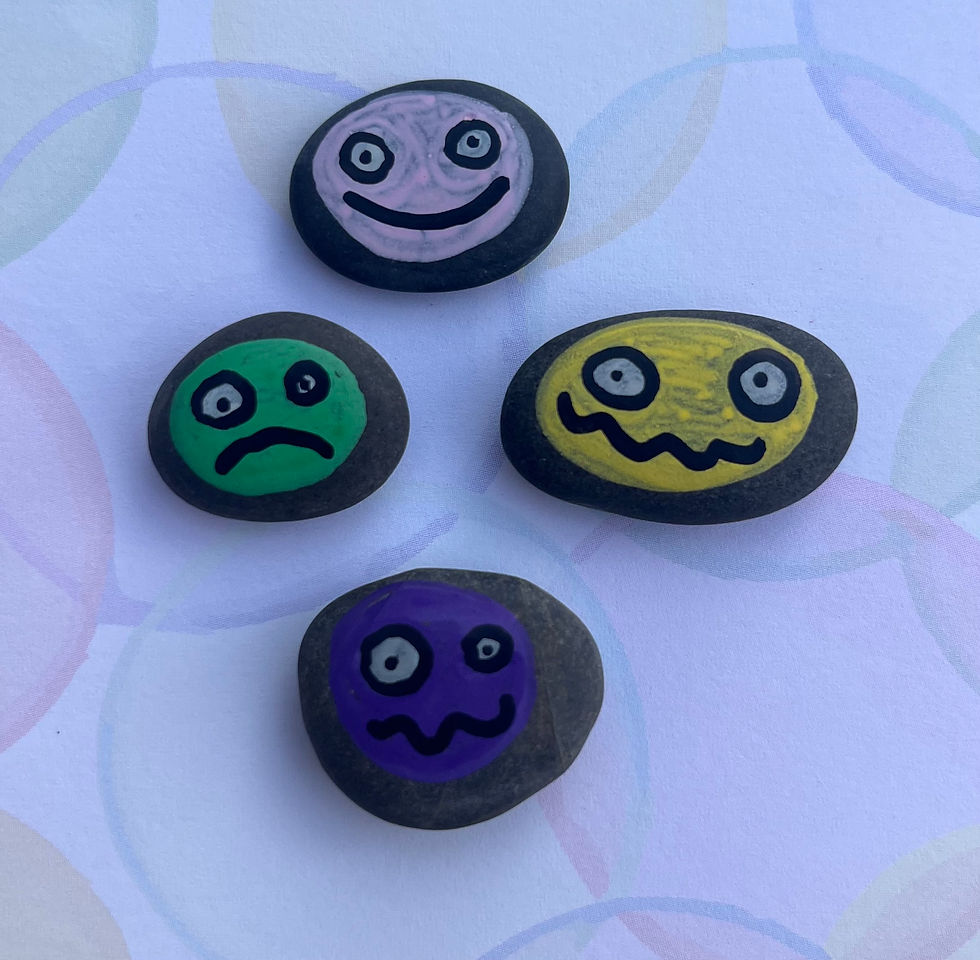
Faces! These turned out a little creepier than I meant....
Spooky ghosties! I LOVE ghosts and spooky things, so these cuties are fun to make even though they are super simple. Add a little mouth for more expression.

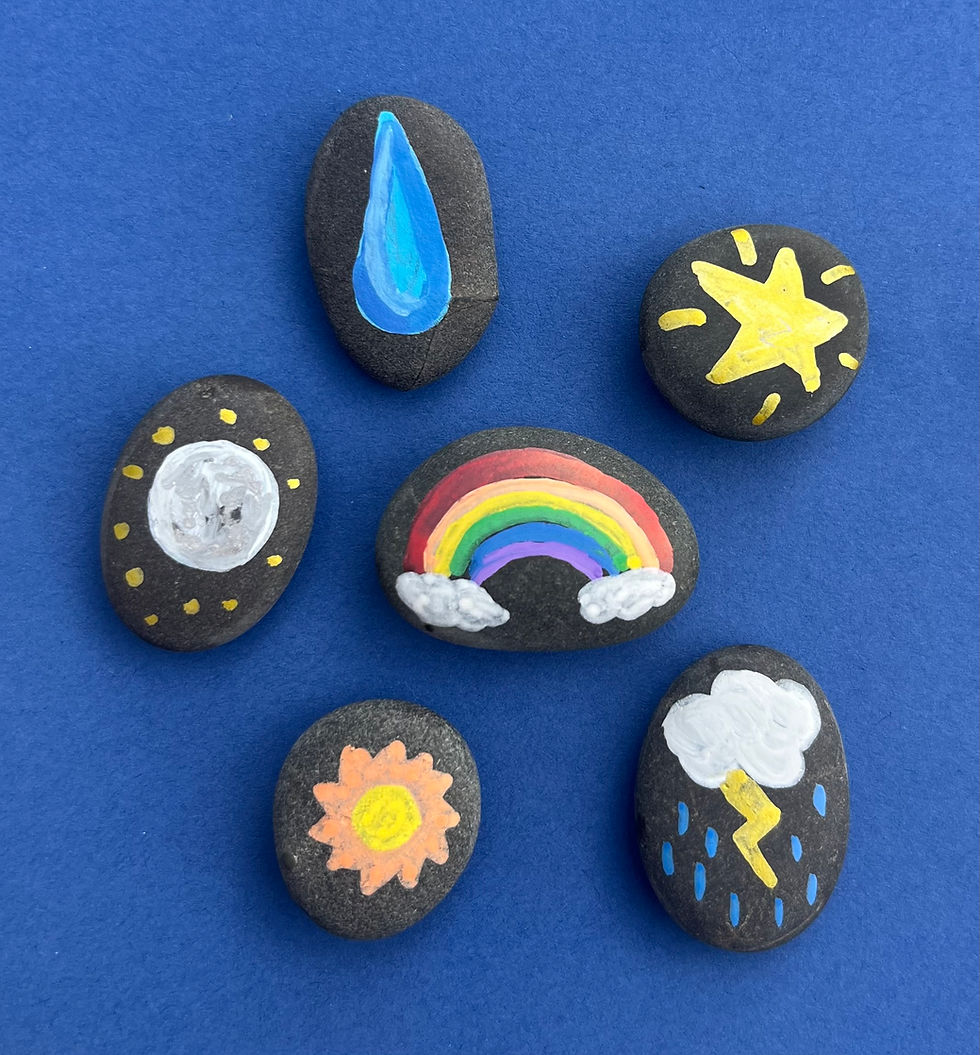
Weather and the sky. Rain or shine, rainbow, and the moon. Weather can make or break a day, and the moon is always lovely.
Ocean! Jellyfish are my favorite, ocean creatures and majestic and fun. You can make realistic creatures, more cartoon style, or even a little goth fish.

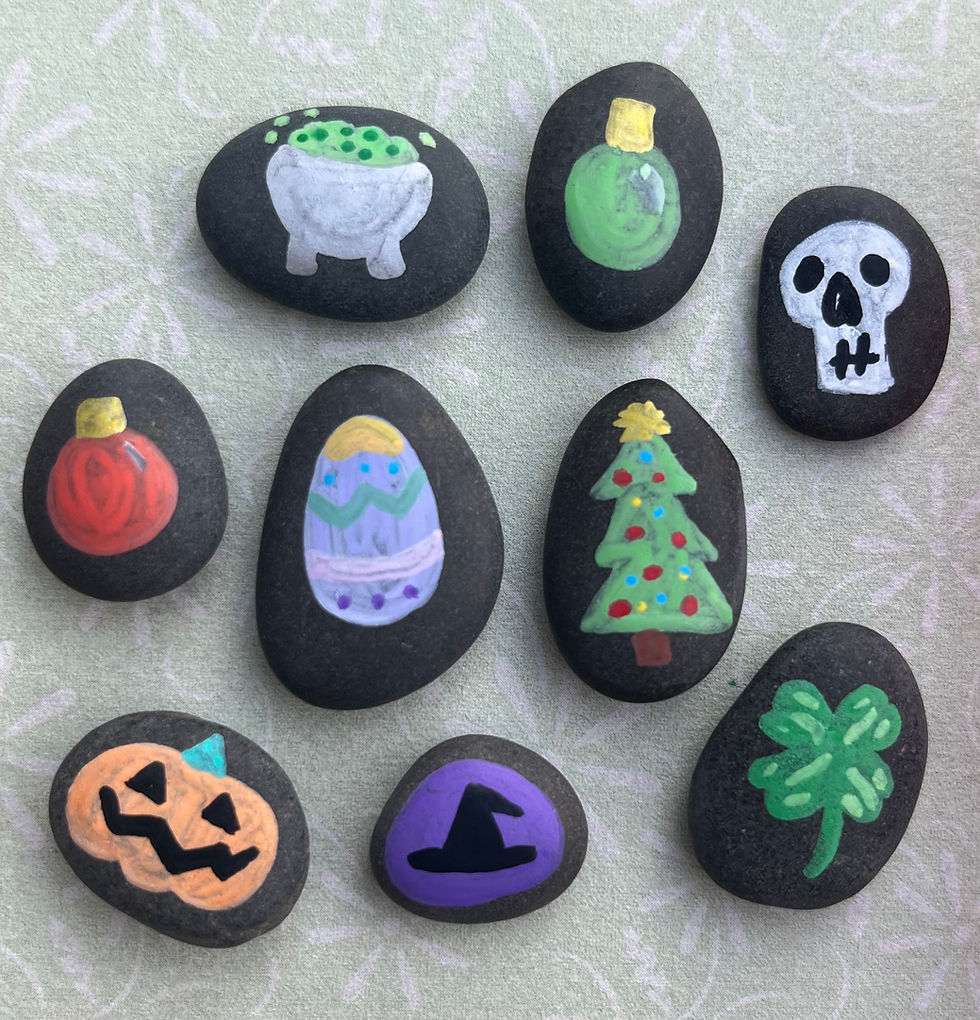
Don't forget about holidays. It can be Christmas trees, a little Halloween cauldron, or a lucky clover for Saint Patrick's Day. Holidays are fun to celebrate for many people, these make great gifts to mark the occasion. Try out birthday themes too!
There are tons of ideas and designs just waiting for you to discover, try out this easy method of decorating mini rocks and get creative!

Comments