
Pet Rocks
- Jul 9, 2025
- 3 min read
What better to decorate a rock with than a pet!

This is the same process I used in the Mini Rock Painting post, but bigger rocks and step by step for a pet!
First...Gather your supplies! You will need large flat rocks and acrylic paint markers. I got mine from Amazon, but you can find suitable rocks outside too if you look in the right places.
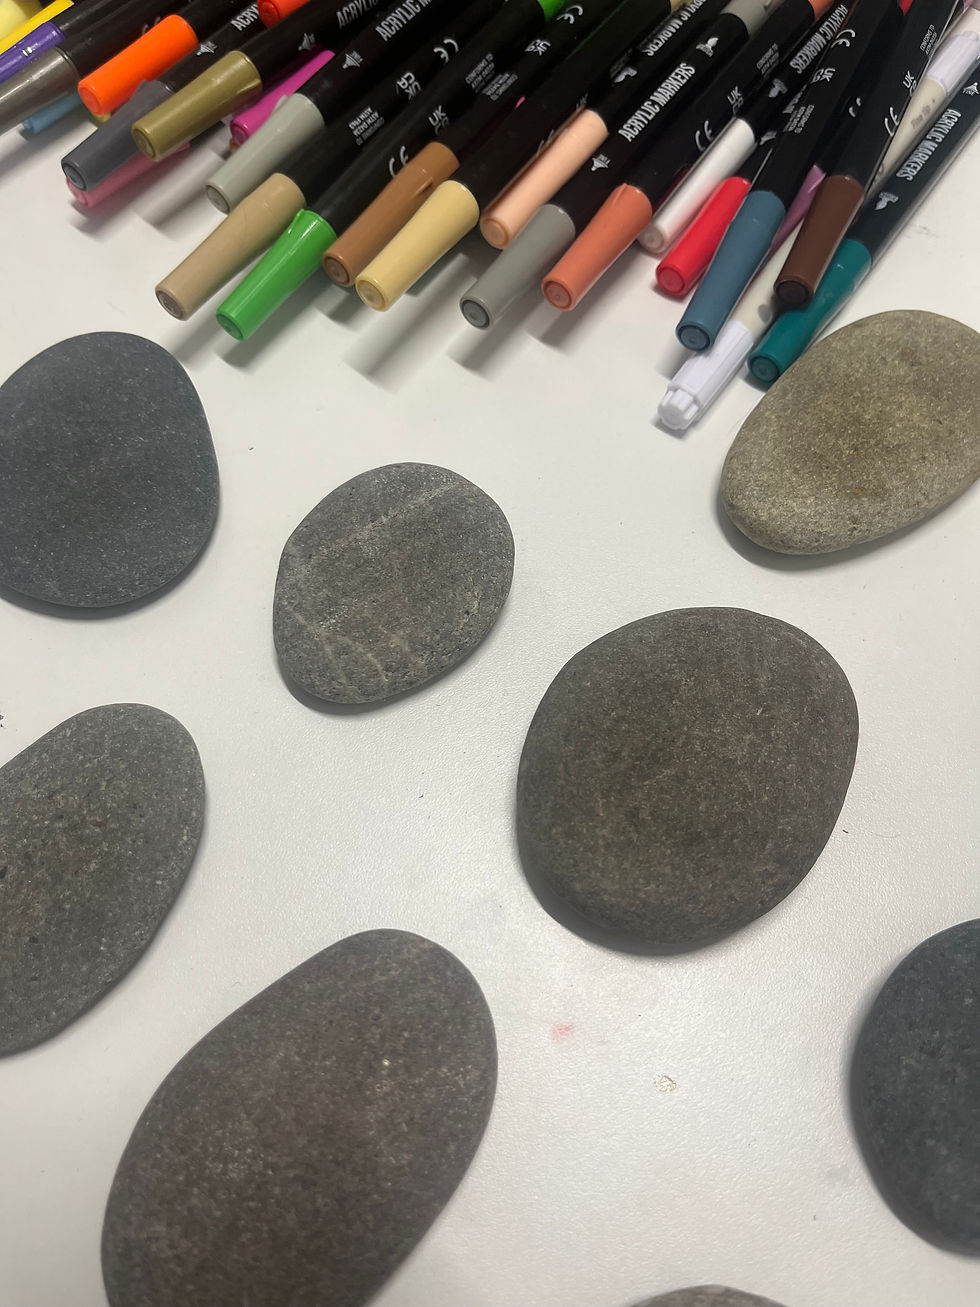
Wash your rock first, because they get very dusty and can be dirty. You don't want that loose dust and dirt to mess up your painting process.
If you have a reference picture, pull it out! You can jump right into painting but I find it better if you make a really loose outline of your pet first. You only really need the head outline, nose, and mouth. (Leave some room for the pet's name if you wish, or fill up the whole rock!)

Now this is a good trick, anywhere there is going to be a lighter color you should put down an under layer of white. This acts like a primer and will make those lighter colors stand out. It's good to do it first so it has time to dry before you come back to those parts.

For my calico cat, I started with the black areas of the pattern. I have found it better to work from darker colors to lighter colors. So look at your reference picture and decide the darkest color and do it first.

Next color, I did the brown! Be careful to let paint dry before moving on to the next color so they don't mix. Blending is find as long as it's on purpose.

I added the pink of the nose and the ears next. This is where blending is nice and purposeful because if you have several pinks you can add depth to the ears.
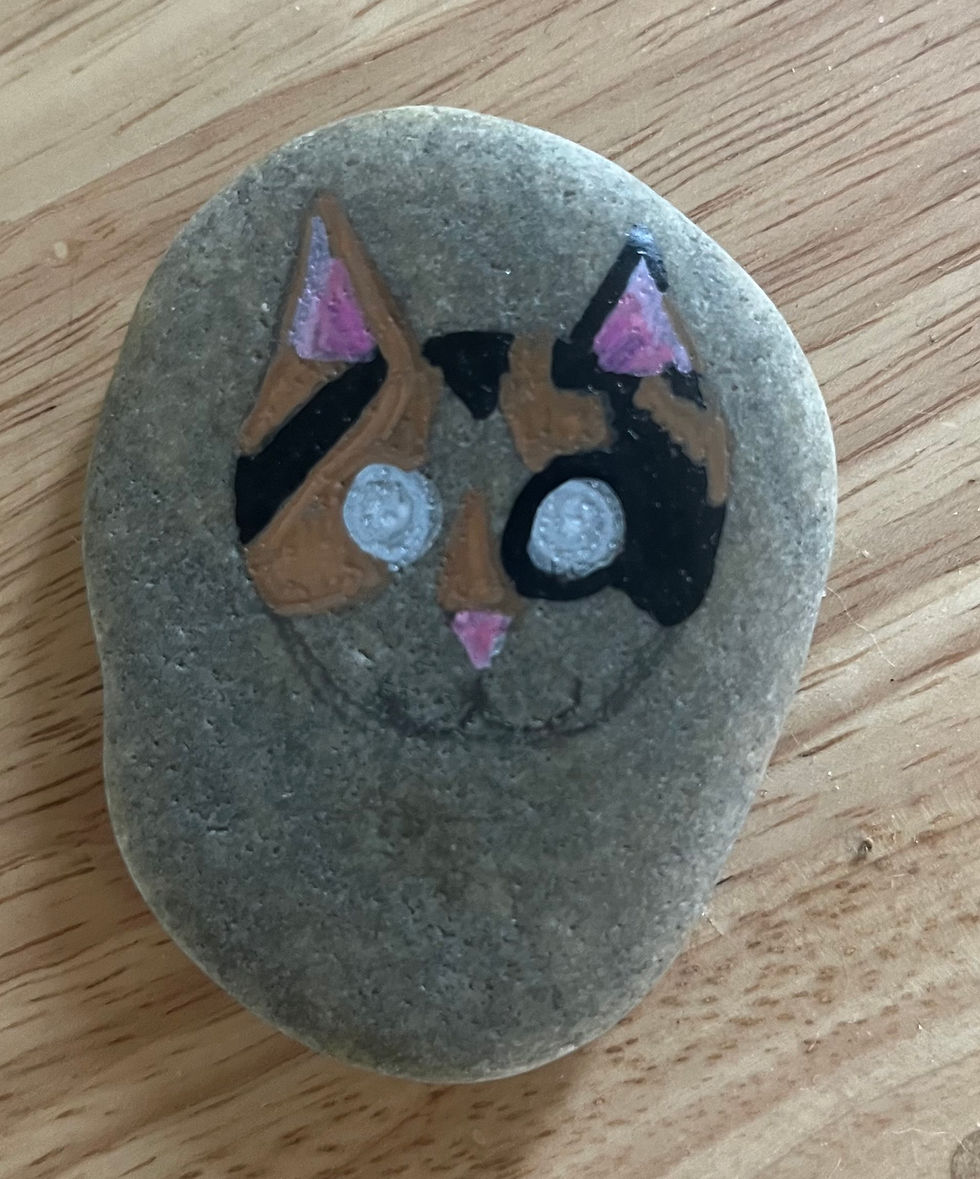
Eyes! Eyes are so important. Again, different colors can add depth. Start with just the color and not the pupil.

I added the lightest color, white. Sometimes it takes a few extra layers of lighter colors because they don't show as well on the darker rocks.

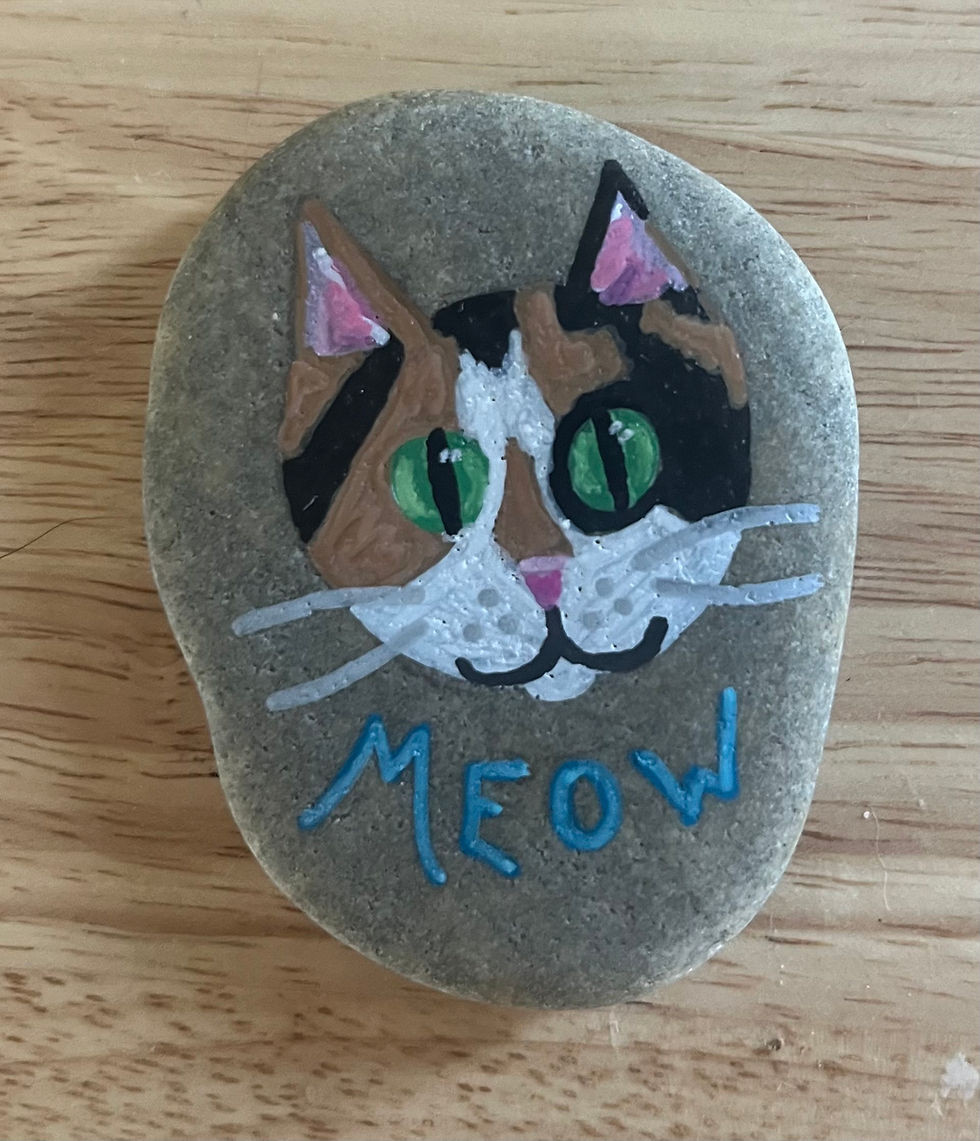
Then I added the black to the eyes and mouth, again when the previous paint is dry!

Don't forget the whiskers!!

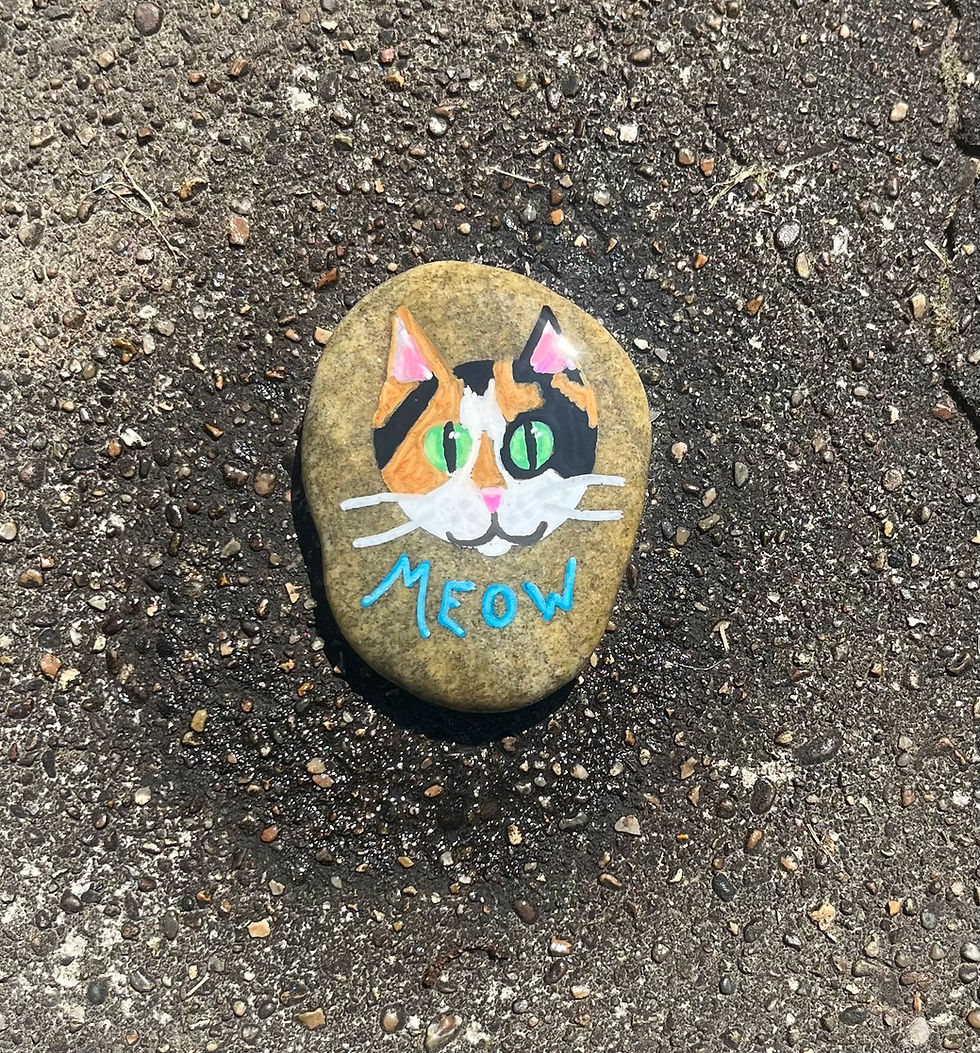
Then you pick your text, like the pet's name or the sound they make. Start with a darker color again for the base of the letters. This is optional!

Add a little lighter color to the text to make it pop!
You now have a rock, but it's not waterproof. The advantage of waterproofing is that the rock can go outside and withstand the elements better. Without a clear coat, the paint is more vulnerable to smudges. For a clear coat I used a spray, matte or glossy work.
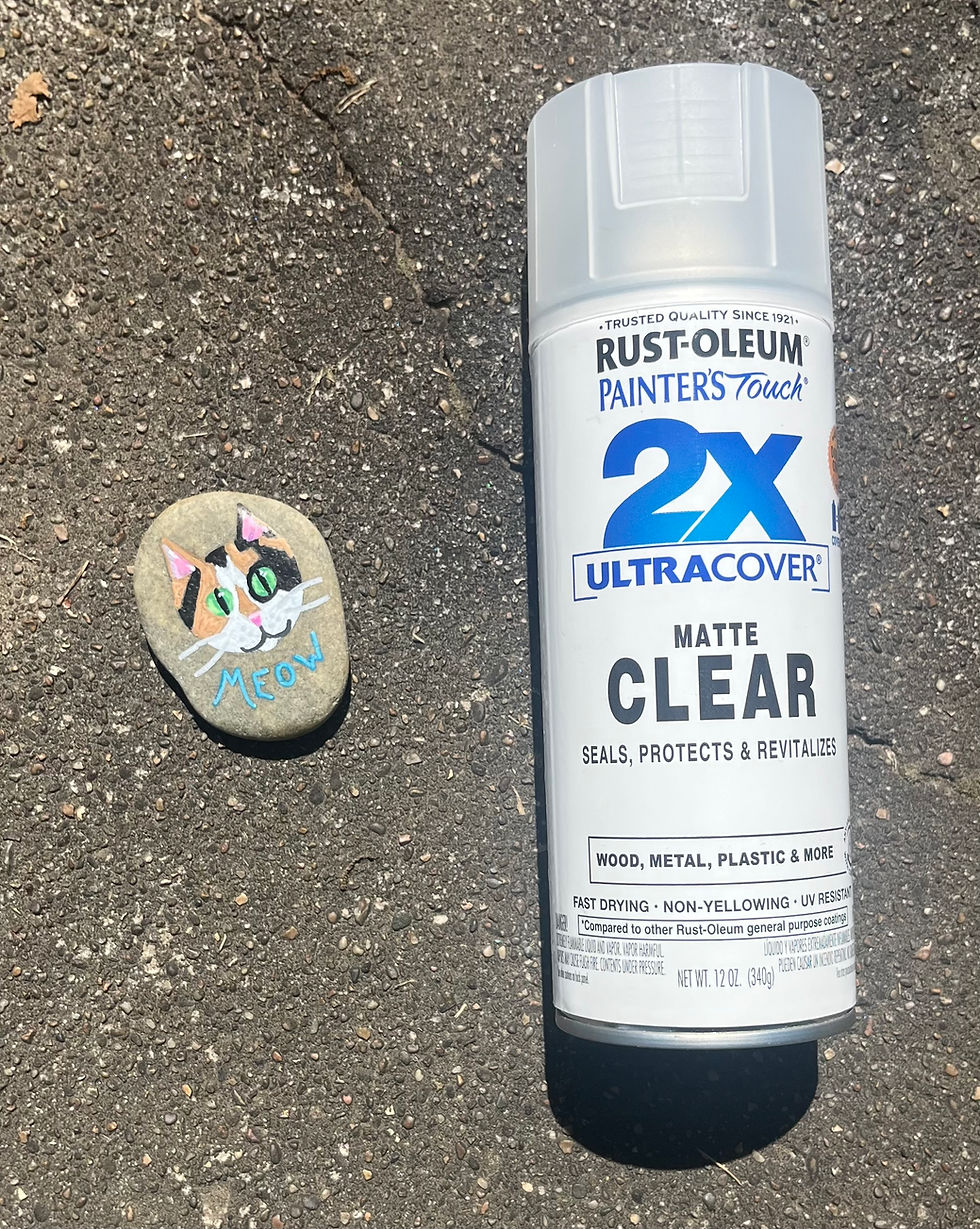
Only spray paint in a well ventilated area and let it dry completely. I went over my rock with three coats just to be safe.
NOTE! When you use a clear coat it will darken the rock. It will appear wet even when it's dry. Depending on the spray, it might have some shine to it as well. Since I used a matte spray, mine wasn't too glossy. But keep this in mind. Sometimes it can make the color really pop but darker colors can get lost.


Spray many at once for a faster process.

These rocks make great gifts for friends who have pets. With a name or without, detailed or simple, these rocks are fun to make.


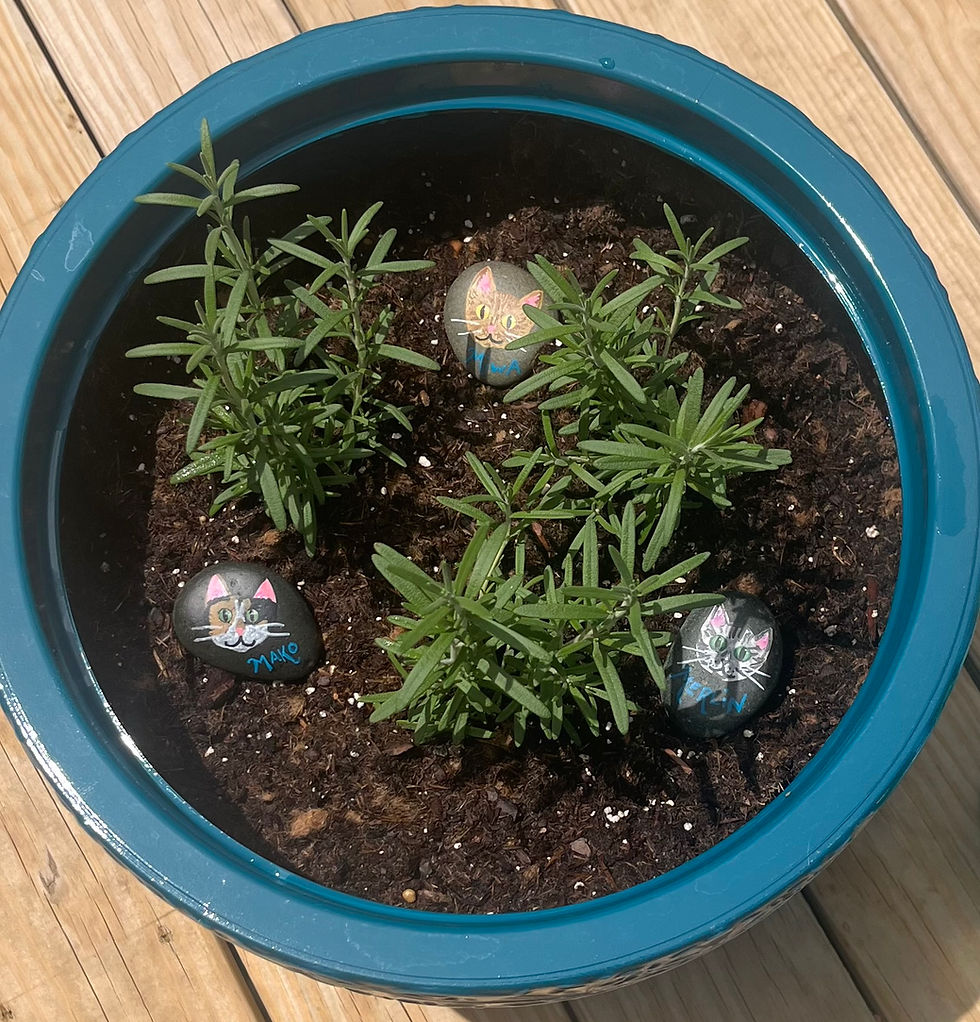
A fun thing to do with your rock, if you waterproofed it, is to decorate your plant beds with them. I put some with my happy rosemary plants to help them grow.
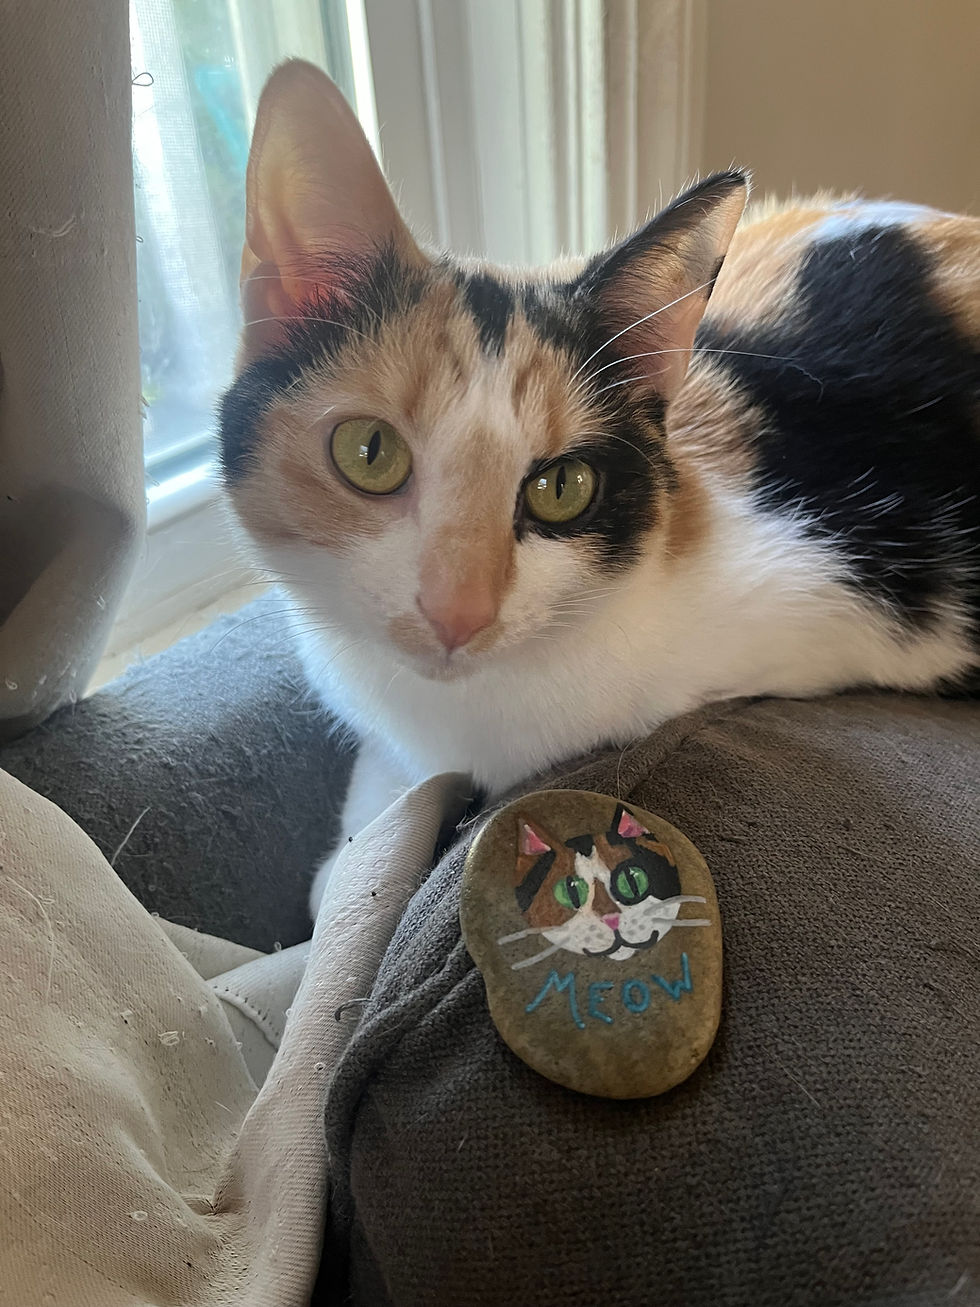
Just remember, no rock is perfect and it's ok to make mistakes. Mistakes give something character and it's all part of the learning process. With practice these get easier and easier. See the resemblance? Meow!
Comments